Tuesday 16 August 2011

The 1 of a kind CUSTOM Skate Deck!!!

So for this assignment we had to design and create our very own Skate Deck using PhotoShop and Illustrator.
We had to create our own textures and incorporate them into our final product. Then we had to go and get them printed on a sticker and put them on to a real Deck!!!

Here is the process in order of how I cam e to create the master piece!!!


1- Here I painted a blue cloud so I could create a texture brush out of it on PhotoShop to use it in the back Ground!


2- I water painted a blue sky so I could use it as the background and use the brush I created in PhotoShop to create the clouds!


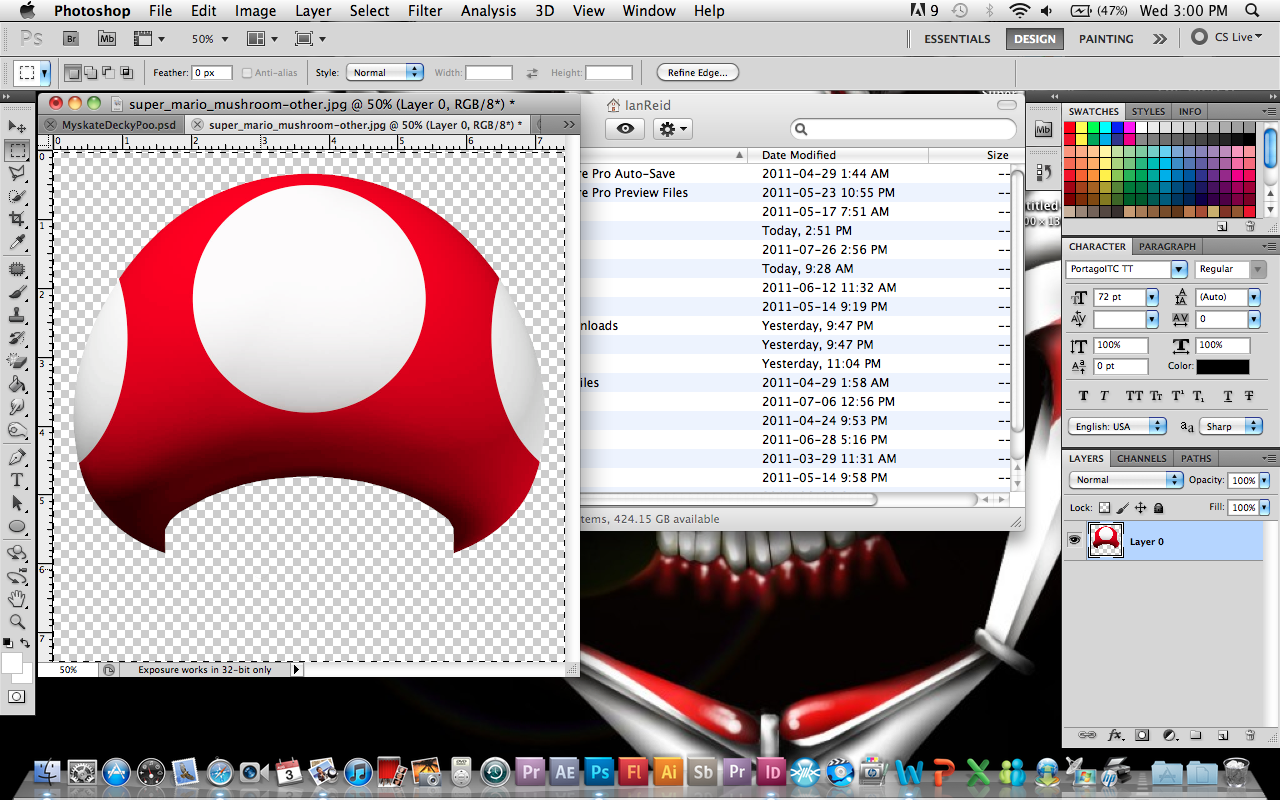
3- I cut out one of the Mushrooms from the game Super Mario Brothers so I could use it in the final product!


4- Then I took a picture of my head so I could insert it on to the deck!


5- Then last second I thought of this as an idea!!!


6- Now it was just about finding good placement for the images I created!


7- Then I inserted an image from the 1980's Super Mario game. and used it as the background.


8- Then I cut out the the background from the orignal Super Mario Bros image!


9- Then I traced over my signature in Illustrator so I could put it on to the Skate Deck in PhotoShop!


10-  I also traced a word bubble in Illustrator to incorporate it into the final design!


11- Then I inserted my water colour painting as the background of the Super Mario Bros image as well as the word bubble and my signature!


12- I then added the text into the word bubble!


13- And this is the texture I created in PhotoShop!


14- Then I used the texture I made and created the clouds onto the background I water painted!


15- Then I saved the final piece and was ready for printing and this is what the MASTER PIECE turned out like!


(HERE ARE SOME OTHER SHOTS OF THE FINAL SKATE DECK!!!)


AND HERE IS THE ADVERTISEMENT SHOT!!!


PLANNING- 1HR
WATER PAINTING- 20 MIN
CREATING PHOTOSHOP DESIGN- 6 HRS
ILLUSTRATOR VECTOR IMAGE TRACING- 30 MIN
TIME TO PUT STICKER ON AND CUT OUT- 10 MIN

TOTAL TIME- 8 HOURS

TOTAL SUPPLIES COST-
$30 FOR STICKER


Sunday 7 August 2011

Face Change Yo!

Here is what smoking does to you after a while!!!


First few ciggys...


Then after a couple years you look like this!

Thursday 28 July 2011

New PhotoShop Skills

Original                                                                         My Edited version


 Original                                                                       My Edited version

Tuesday 26 July 2011

Depth Of Field

For this assignment we had to take 3 of the same photographs and use the manual focus and F-Stop settings to focus on particular objects changing the depth of field. Here are my 3 photos.


1- Close Range Focus


2- Medium Rang Focus


3- Long Range Focus


4- All 3 objects in focus!


Tuesday 19 July 2011

MeGaLoDoN PoStEr

Okay, Here we go the final part of the Megalodon Assignment Finsihedddddd!!!


So here is how I made my poster.

1- I drew up a sketch of what I wanted the poster to look like.


2-  The I Water Painted the ocean background Like so.


3- Then I scanned in the original shark drawing I did and Traced over it in Illustrator.


4- Which Left me with a better outline to work with.


5- Then I printed off the Vector image of the shark and Colour Painted it.


6- Then I scanned this image in, and opened it in PhotoShop to put everything together and make the images look cleaner.


7- Then I fixed up a little few mistakes and ugliness with some tools in PhotoShop. I also cut out the teeth so I could Insert text into them.


8- Now I have my finished product and is ready to be saved.


9- Here is the finished product.


Now for this assignment, I wanted to make a totally un-realistic looking shark (cartoon style) just to change it up and see if it would look good. It actually turned out pretty close to what I was going for. So overall I am happy with the final piece.

Total Planning Time- 20 min
Total Drawing and Painting Time- 1 hr
Total Illustrator and PhotoShop Enhancing Time- 1 hr
Total Time- 2 hrs 20 min


Monday 18 July 2011

I cannnntttt waiiiittt

This has nothing to do with school, but I just want my danngg Mustang now! ONLY  FEWWWWWW MORREEE DAYYYSSS!!!


Black Swan Poster Vector Image Style YO!

Here are the 2 Black Swan Posters I re-created in Illustrator using the Trace Tool.

These are just quick snaps of the Vector Images. They are not to scale.


Sunday 17 July 2011

Image Restoration

Here is the image I had to restore on PhotoShop for NewMediaTools class.

          My PhotoShop'd version.                                        The Original version.

Sunday 3 July 2011

Self Portrait

Here is the self portrait I chose to use!

This is a picture of my self on my skateboard that one of my friends took, I put the camera on a tripod and set all the settings, and he simply just pushed the button.

This photo resembles who I am because it shows my passion and something that has always been there for me as a kid. I chose Black and White because that reflects of the times I have had in my life.

Monday 27 June 2011

Animal Sketches

Okay, So here are the 12 animal sketches I did. We had to draw 12 animals (6 assigned, 6 of our choice) then put them onto a water painting background that multiple people created.

Here are my 6 Finished Pictures!


Sunday 26 June 2011

Megalodon Tooth

Okay folks. Here is my attempt of creating a Megalodon Shark Tooth out of clay. Here is the progress of the tooth!


1. Here is me planning out what I am going to do for the support, and the shape of the tooth.


2. Here are the materials I used to create the Tooth!


3. The clothes hanger and tin foil body, ready to be layered in Sculpty.


4. The first Thin layer of sculpty on top of the tin foil and clothes hanger structure, so now I can start shaping and adding detail.


5. Second layer of scuplty on top of the thinner layer. Now ready for the thicker layer so i can begin shaping.


6. Third layer with a little detail on it straight out of the oven, now to begin putting final Thickest layer on it so i can add all the necessary detail.


7. Now ready to go in the oven and bake for about 10 minutes so I can paint it.


8. Almost Done, Did 3 BLACK base coats, then 2 CLEAR coats, then 1 GREY coat, Then 1 Brown coat. Then just had to sand it down a bit and make it a little more realistic.


9. And finally the ROM style guide mock up, with the required information and created colour pallets.

TOTAL TIME ON MODEL- 2 HOURS

TOTAL TIME ON STYLE GUIDE- 2 HOURS

TOTAL PLANNING TIME- 1 HOUR

TOTAL TIME- 5 HOURS